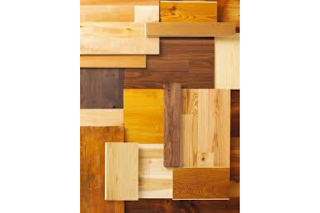
Replacing flooring for your home? You may be able to do it yourself!

Replacing the floors in your house is a surefire approach to give your space a fresh, new look. Simultaneously, buying quality flooring and employing an expert professional can get expensive.
In case you're longing for a new floor and aren't hesitant
to go DIY, attempting your own flooring job can set aside you heaps of cash.
Obviously, it can likewise transform into an immense wreck if you don't do
thorough research.
Select The Right Tool:
Renovating a flooring is almost like cooking: Without the
best equipment and tools, your final outcome won't look right. So once you
select the flooring,
it's ideal to find the correct tools to install it.
Laminate, Vinyl and Hardwood:
- Transition Moldings
- Underlayment
- Jamb saw
- Table saw
- Miter saw
- Circular saw
- Jigsaw
- ¼-inch or ½-inch spacers
- Hammer
- 6-foot level
- Tapping block
- Tape measure
- Moisture meter
- 6 mm to 8 mm Polyethylene sheet
Tile:
- 5-gallon buckets
- Straight edge
- 6-foot level
- Speed square
- Spacers
- Undercut saw
- Wet saw
- Angle-grinder
- Tile-snapper
- Grout sponge
- Microfiber sponge
- Utility knife
- Grout
- Mortar
- Drill
DIY Hardwood Floor:
- 6-foot level
- Tape measure
- Miter saw
- Table saw
- 60-tooth carbide tip saw blades
- Jam saw
- Hygrometer
- Compressor
- Drill
- Hammer
- Nail set
- Hardwood nailer
Peel-and-stick Vinyl Tiles:
- Tape measure
- Chalk line
- Utility knife
- Handsaw
PS: For all the types of floorings,
Pencils, Glue, Tape, Measuring Scale, Safety Glasses are a must.
Installation Process For Different Floorings:
Laminates:
With a laminate "click flooring" or
tongue-and-groove framework, you can install your flooring
by clicking pieces out over an underlayment that lays on the subfloor. That
implies there's no necessity for nailing or sticking the planks.
Prior to that, we recommend expelling any current floor and
ensuring your subfloor is in appropriate condition.
Let your laminate flooring settle for a day or two.
Hardwood:
Begin by removing the current flooring or anything is that
fastened to the floor. If the subfloor is in good condition just make sure it’s
smooth and level and give it an extra good cleaning.
If the subfloor is not in good condition, then you will have
to substitute it. If the subfloor is made of concrete, ensure the surface is
even.
The method of installing hardwood flooring is slightly alike
to the click system. Except that you’ll need a nail and a flooring nailer.
Let it settle for at least 3-4 days.
Tiles:
Installing tile is somewhat not quite the same as installing
laminate or hardwood. Tile installation requires mortar and grout instead of
nails, glue or just tapping the planks. The method is a labor-intensive one,
however, can be DIYed.
In case you're tiling a washroom, you should use a
waterproofing underlayment structure. When installed rightly, it will assure a
waterproof seal of your floor and it likewise gives additional security against
tile movement, which causes cracks in tiles and grout lines.
In case you're up for the task, try to acquaint yourself
with mixing mortar, cutting tiles, using spacers and applying grout to the
creases.
Vinyl:
Vinyl type peel-and-stick flooring is perfect for DIYer.
Start by checking out the centre of the room using chalk lines and do a dry run
by setting the tiles out on the floor.
Partition your floor into quadrants and start your first
tile in the centre of the room and work out from the quadrants. Ensure the
tiles are close to one another, except if, obviously, you plan on having a
grout line. At that point, you should use tile spacers between each tile.
As you approach the edge of the divider or corners, you
should cut the tile. Ensure you mark this accurately as you should slice the
tile to fit the space. What's more, while circumventing corners, make a layout
from a bit of cardboard and use this to cut the tile.
Re-check tile before you cut and remove the backing. When
the floor is done, you can use a roller to ensure the tiles are secure.
Happy DIYing to you!
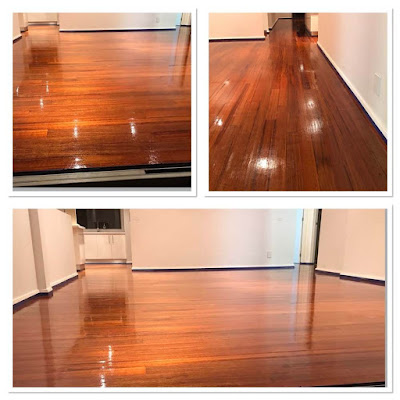
Contact us for
Floor sanding and polishing and Timber
flooring Melbourne

Comments
Post a Comment